In this post we will see how to create and deploy JSF Liferay Portlet on Tomcat server. We will use Maven to build the Portlet project.
There are some prerequisites to properly accomplish this tutorial.
Table of contents
Prerequisites:
- Having an Eclipse IDE with Liferay Plugin installed or a Liferay IDE
- Having Tomcat Server configured to use Liferay with JSF
You can start the tutorial when these two prerequisites are respected.
1- Creating a Liferay Portlet using the Liferay plugin wizard
First of all, we have to create a Liferay Plugin Project that will contain our JSF Liferay Portlet. Follow these instructions:
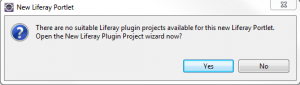
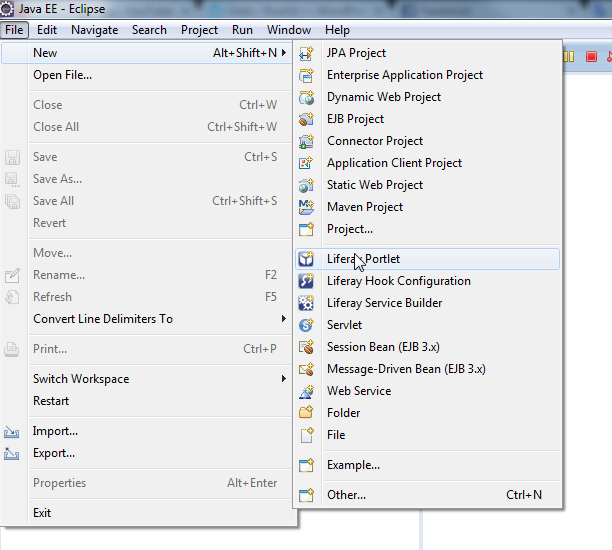
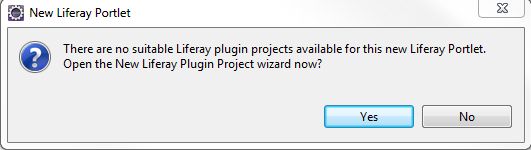
- On your Liferay IDE or Eclipse IDE, click on : File -> New -> Liferay Portlet

- If a pop up window is opened asking you to open a new Liferay Plugin Project Wizard, click “Yes”
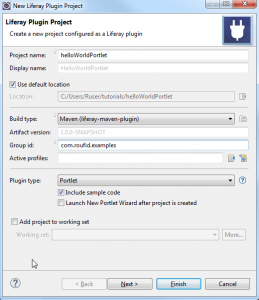
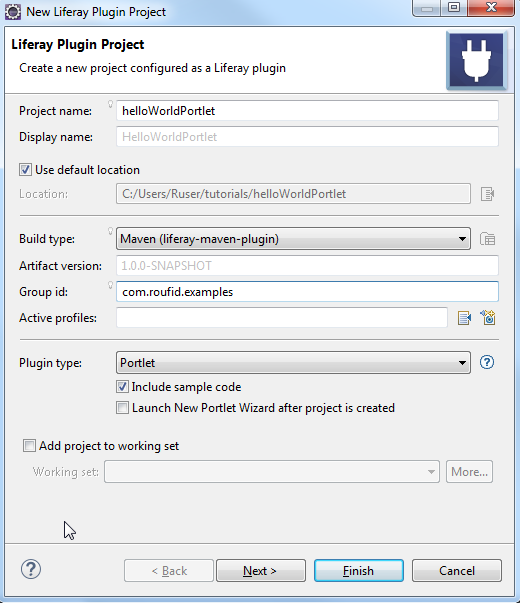
- The next window concerns the Liferay Plugin Project information. We will give a name to our Liferay project and choose Maven as a build type.
– On project name, type : helloWorldPortlet
– Choose Maven (Liferay-maven-plugin) as “Build type”
– Fill the Maven project “group id” field with : com.roufid.examples
Verify that the information entered correspond to the next image and click next
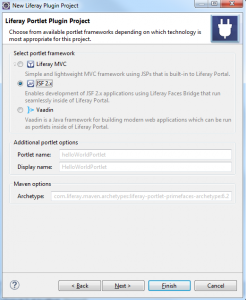
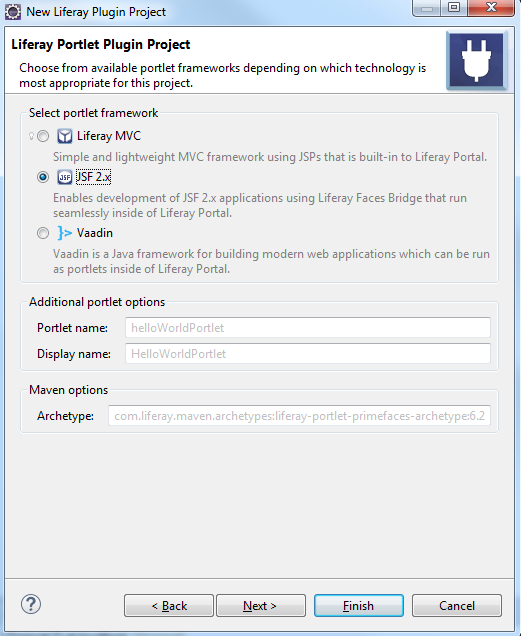
- We will create a JSF Liferay Portlet, so on the next window, Select JSF2.x as portlet framework and lets the other information by default and click next
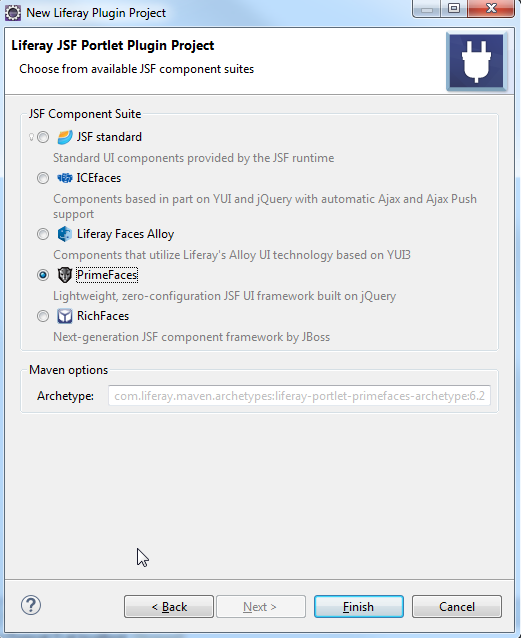
- The next screen is to select a JSF Component Suite. Personally, I prefer work with Primefaces. Choose the JSF component Suite you want, we will use PrimeFaces in this tutorial
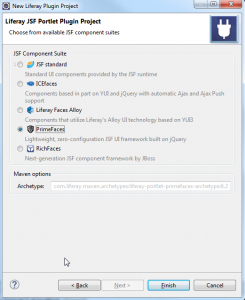
- Click finish
- If the “Open Associated Perspective ?” pop-up show up, select “No“
Your JSF Portlet is now created but has some errors that we have to fix. These errors are due to the absence of the required Maven dependencies and the missing of the necessary Liferay profile.
2- Fixing Maven errors
Follow these steps to fix the Maven errors
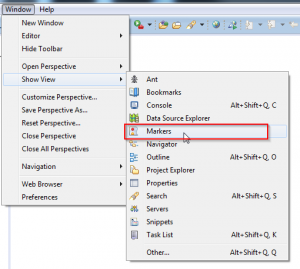
- Open the “Markers” view where you will see the errors
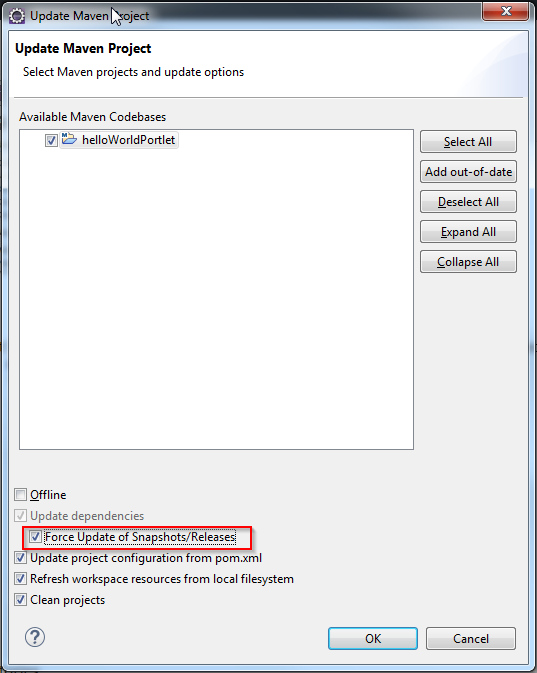
- First of all, do a maven update on your Liferay Plugin Project by: Right-click on your project -> Maven -> Update project (Alt+F5). Select “Force Update of Snapshots/Releases” and press “Ok”
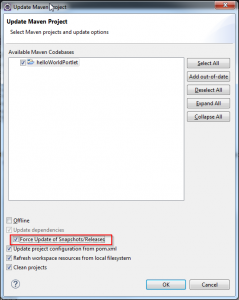 This will download the dependencies from the maven repositories.
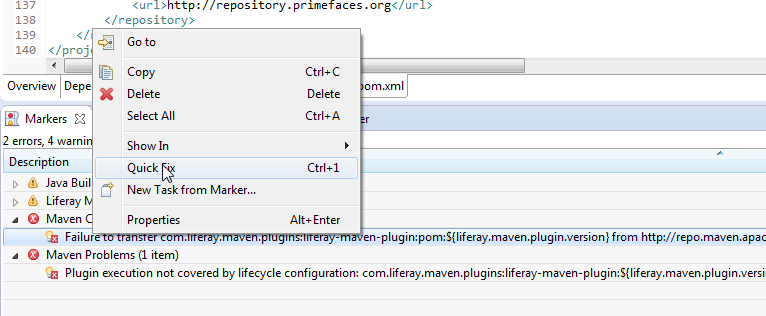
 - After downloading the Maven dependencies, only two errors will remain on the “Markers” view
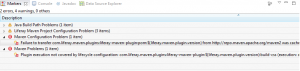
- Click on the first error under “Maven Configuration Problem” and Quick fix it by : right-click and chose Quick-fix (CTRL+1)

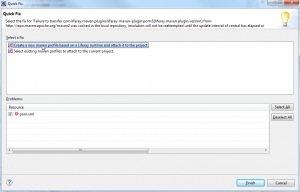
- On the Quick fix pop up window, select “Create a new maven profile based on a Liferay runtime” and click “Finish”
- Select your Liferay runtime and The “Liferay Version” field will be filled automatically. If not, put your Liferay version. In My case is “6.2.5”. Give an Id to your Maven Profile and keep Project pom.xml selected and press ok as the following image :
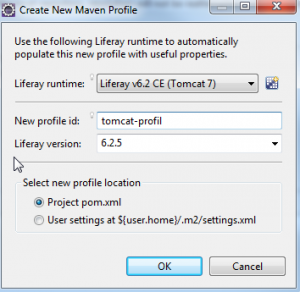
- A new Profile will appear in your pom.xml. This profile will used by the maven-liferay-plugin to deploy the Portlet
- Normally, all your errors will disappear. If not, do a update maven on your Liferay Plugin Project: Right-click -> Maven -> Update project (Alt+f5)


Your JSF Portlet is now configured and ready to be deployed on the Liferay Portal. Now, we will deploy the Liferay Portlet to the Tomcat server.
3- Deployment of the JSF Liferay Portlet on the Tomcat Server
- Start your tomcat server

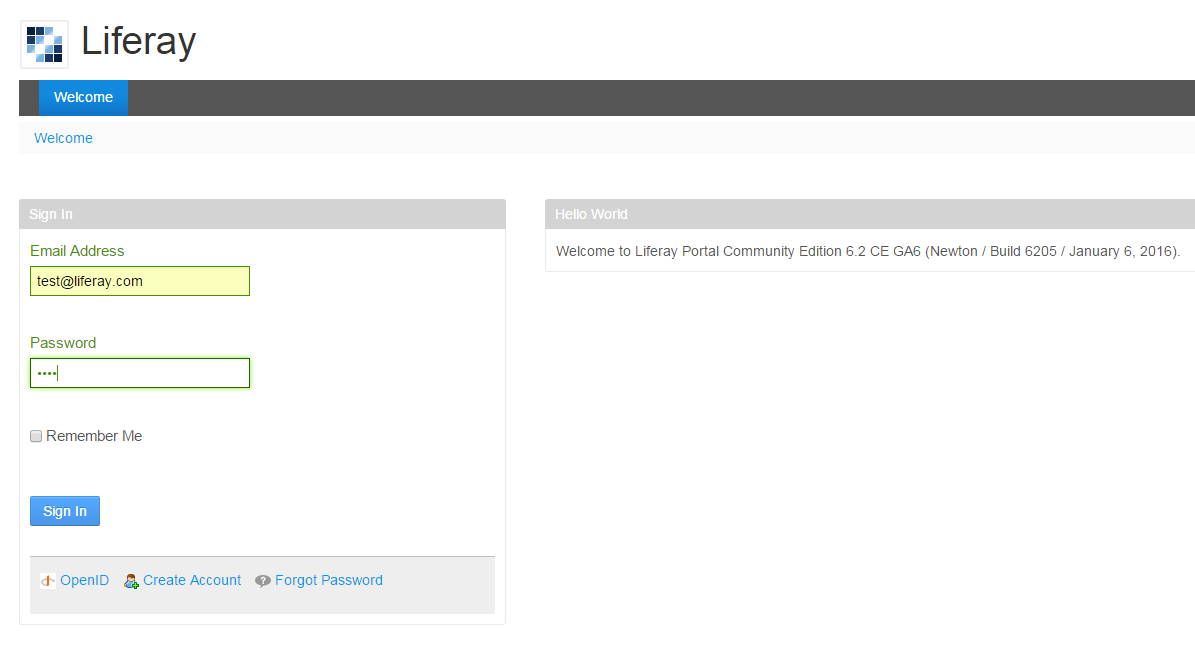
- Wait for the start. A new window will open in your default browser. If not, go to http://localhost:8080/
- Sign in your portal Liferay. The Default Login and password are :
– Login : test@liferay.com
– Password : test
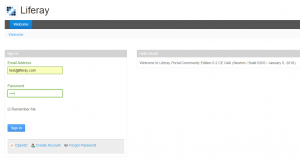 you will connect as Power User
 - You will be redirected to the default Liferay landing page
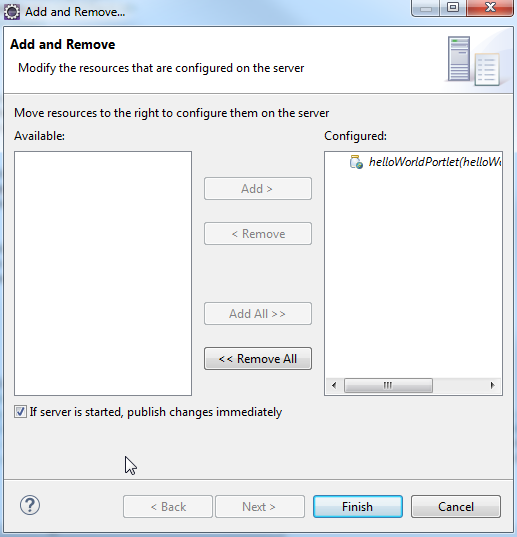
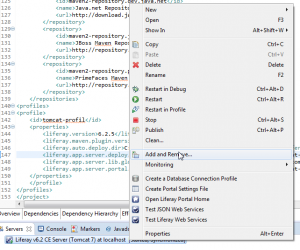
- Go back to your Tomcat server, right-click on it and choose “add and remove”
- Select your JSF Liferay Portlet and click on “add” and next click “Finish”

- Your portlet will automatically be deployed on your tomcat server. Wait for the deployment and go back to your browser
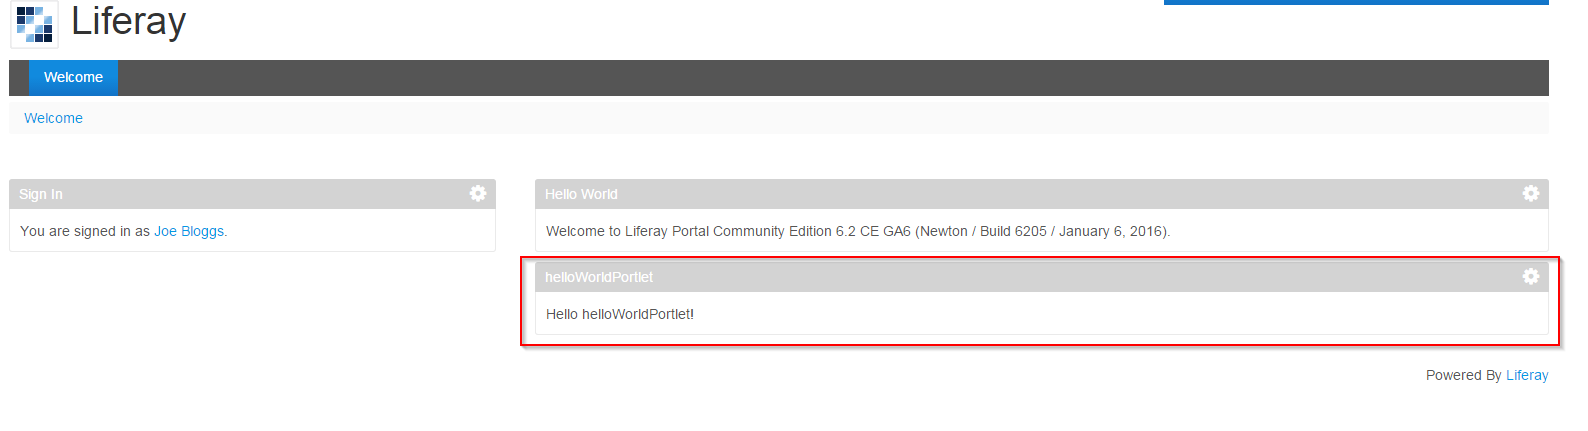
- Click on the “+” button in the left of the screen, choose “applications” and under the “Sample” section, you will find your helloWorldPortlet
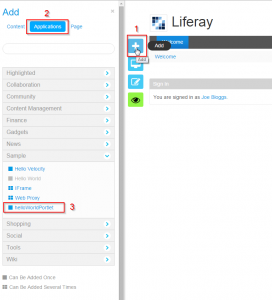
- Select the helloWorldPortlet and drag and drop it to your page or click on “Add” and refresh the web page
- Your portlet is well deployed
 Congratulation ! You created a JSF Liferay Portlet and deployed it on the Liferay Portal.