
you can take advantage of the Apache Maven powerful features on your Eclipse IDE by installing the M2Eclipse Plugin.
Installing the M2Eclipse Plugin
Below steps to follow to install Maven on Eclipse IDE :
- Open your Eclipse IDE and click Help -> Install New Software…
- On the opened pop-up, click on the Add button to add a new repository
- Fill the form with the information below and press Ok
Name : M2Eclipse
Location : http://download.eclipse.org/technology/m2e/releases
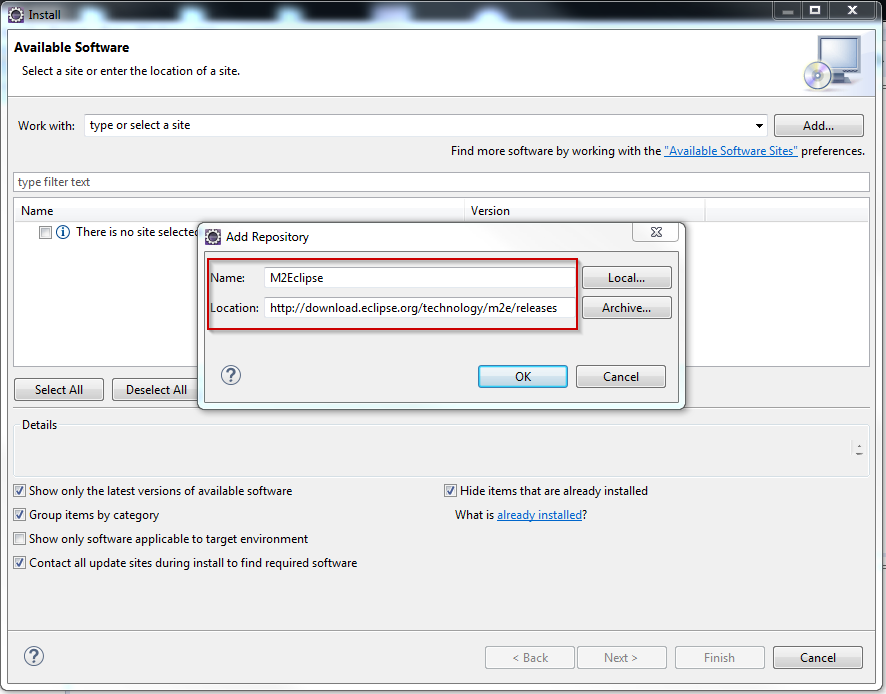
Install Maven on Eclipse – Adding the M2Eclipse repository
- After the Pending finish, select all the Plugins and press Next >
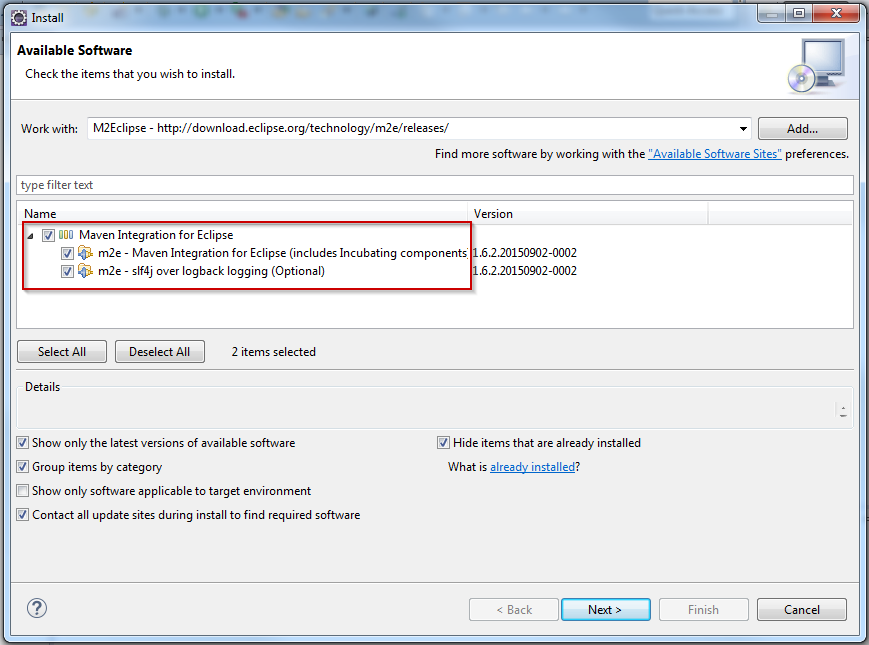
Install Maven on Eclipse – Selecting the Maven Plugin
- Accept the terms of the license agreement and click Finish
- At the end of the installation, you will be asked to restart your Eclipse. Click Yes to perform the restart.
Apache Maven is now integrated to your IDE.
Checking if Maven has been successfully installed
To check if whether or not Maven has been successfully installed on Eclipse follow these steps:
- Open your Eclipse IDE and click Help -> About Eclipse
- Check the presence of the M2Ecplise icon as below
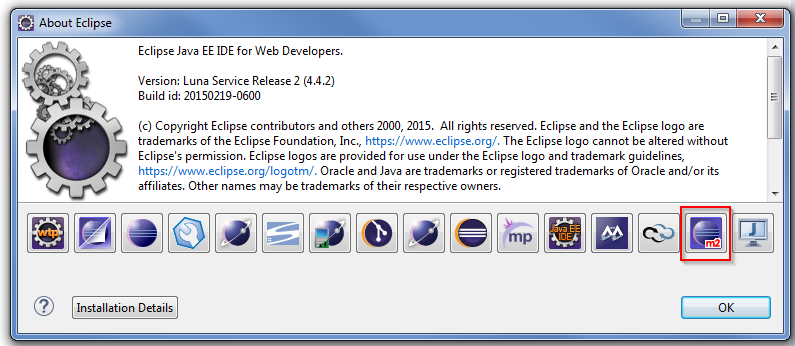
Install Maven on Eclipse – M2Eclipse icon
- You can get further information about the installed version by clicking on the icon
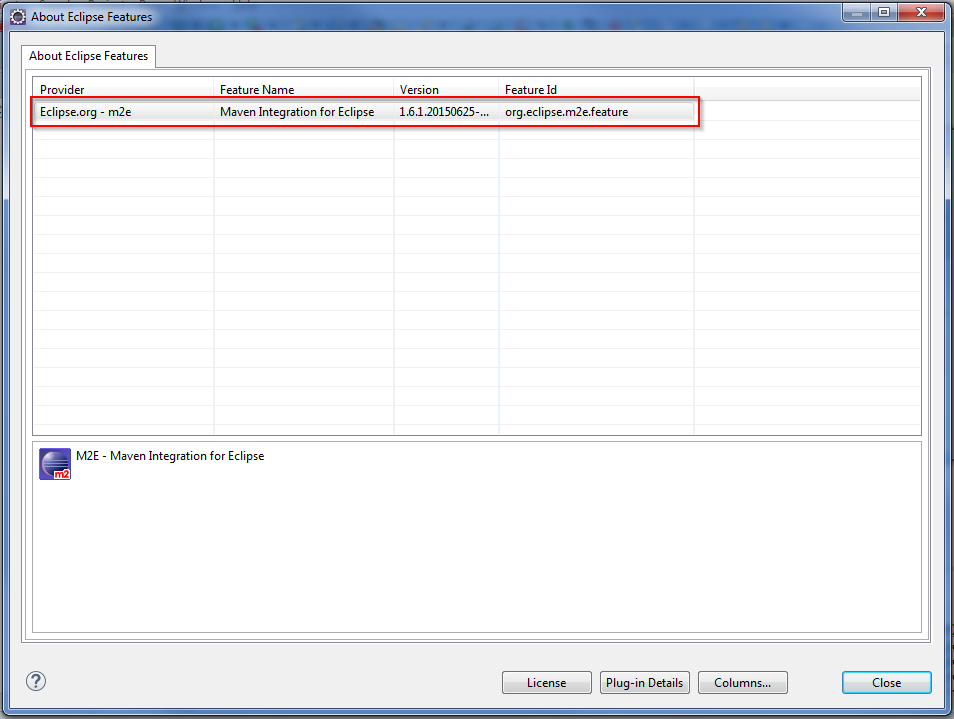
Install Maven on Eclipse – M2Eclipse version